

Some cards are cute. Some are quirky. And then… some feel like you’re holding a whole legacy in your hands.
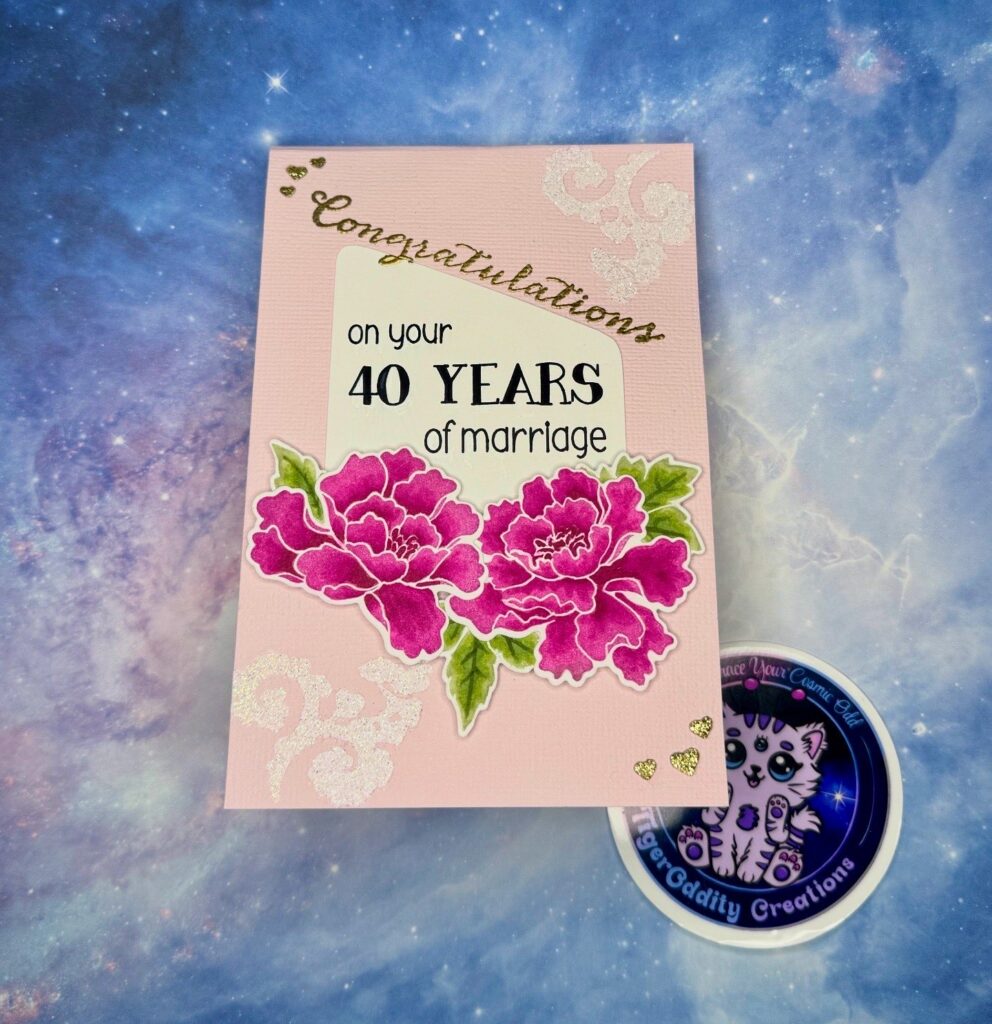
This twist and pop card was commissioned to honor a couple celebrating 40 years of marriage. That’s four decades of inside jokes, quiet moments, evolving dreams, and choosing each other through all of life’s seasons. When I was asked to design something custom for their anniversary, I felt incredibly honored—and also a little nervous in that “this better be epic” kind of way. No pressure, right?
The Concept – Twist and Pop Card
Because apparently my motto with this card was “go big or go home,” I decided to create 1 card with 4 mini card panels inside it, showing off various cute animals in love —alpacas, bees, eagles, otters, and penguins.
Eventually, I gave the eagles a more low-key role—they’re on the back of the card, still proudly present, just not front-and-center. Think of them as the wise elders observing from the background while the other animals get their moment in the accordion spotlight. For the mini-panels, I decided to focus on the other 4:
- Alpacas for softness and silliness
- Bees for teamwork and the sweet life
- Otters for hand-holding joy
- Penguins for loyalty and cozy lifetime partnerships
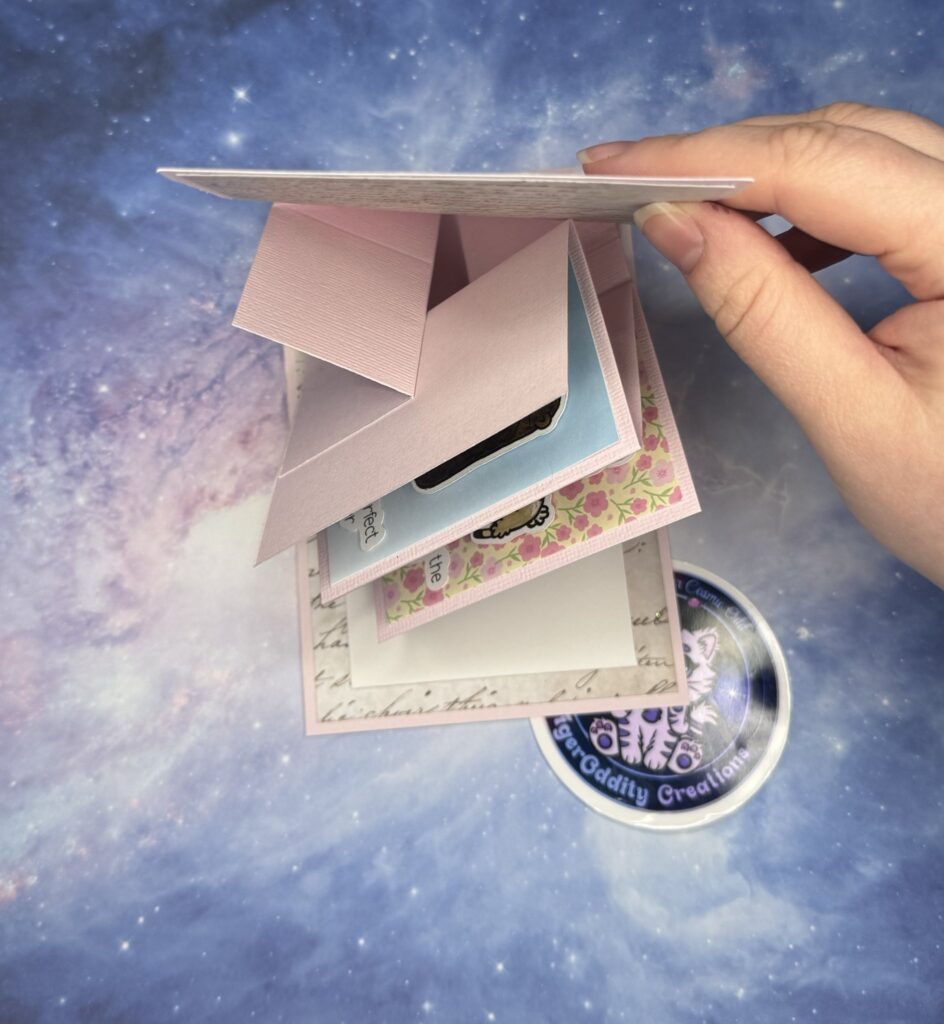
🛠 How I Built the Card – A Mini Twist Pop Accordion Tutorial (4″ x 6″ Card Base)
This custom anniversary card is built using a twist pop mechanism and an accordion fold, all nestled into a 4″ x 6″ card base. It’s the perfect balance of interactive surprise and elegant celebration.
✂️ Supplies Needed
- Heavyweight cardstock (for base, twist mechanism, and accordion panel)
- Patterned paper/DSP for decoration
- Scoring board + bone folder
- Glue or double-sided tape
- Optional: stamps, coloring tools, embellishments
- I used Altenew Lacy Scrolls stamp and die set, Kindred Stamps Creative Curses stamps, Colorbox Pigment Inks, Simon Says Stamp Dye Ink, Ohuhu Markers, Cricut, various DSP from my stash, and my own digital stamps! (which may be available in my shop soon…👀)
📏 Card Measurements (in inches)
| Piece | Size | Description |
|---|---|---|
| Card Base | 12″ x 4″ (scored at 6″) | Standard A6 card base |
| Twist Mechanism | 8″ x 3.5″ | “House” piece that enables the pop |
| Accordion Panel | 10.5″ x 3.5″ | Four-panel foldout inside the card |
| Accordion DSP Panels | 2.5″ x 3.25″ (x4) | Decorative panels for the accordion |
| Inside Background Panel | 5.75″ x 3.75″ (x2) | Optional background behind mechanism |
🌀 Step-by-Step Instructions
1. Create the Twist Mechanism (“House Fold”)
- Cut cardstock to 8″ x 3.5″
- Score the 3.5″ side at 1.75″ (center)
- On the 8″ side, mark 1.5″ in from each end (top and bottom)
- Score diagonally from those marks to form an “X”
- Pinch the top and bottom triangle (pictured below) to fold the cardstock inwards, it should resemble a house. Fold and burnish all folds.

2. Make the Accordion Fold
- Cut cardstock to 10.5″ x 3.5″
- Score the long side at: 2.625″ (2 5/8″), 5.25″, 7.875″ (7 7/8″)
- Fold accordion-style (valley, mountain, valley)
- Burnish folds well
3. Decorate Accordion Panels
- Cut 4 pieces of DSP to 2.5″ x 3.25″
- Glue them onto each accordion panel
- Add your stamped or illustrated animal images
Mine looked like this when it was done (I’ll still show you how to attach it – keep reading!)

4. Prepare the Card Base
- Cut cardstock to 12″ x 4″
- Score at 6″ to create a 4″ x 6″ folded card
- Optional: Add a decorative DSP panels (5.75″ x 3.75″) to the inside
5. Attach the Twist and Pop Card Mechanism
- Open the card base flat
- Mark 2″ from the side edge (this is the vertical center of the 4″ width)
- Align the point of the “house” twist piece with this mark
- Glue the bottom triangle down and burnish
- Glue the top triangle, fold the card shut, and press closed to adhere
- After a few moments of drying time, open and reinforce all folds

6. Attach the Accordion Fold Card Panel
- Find the center of the accordion (the mountain fold)
- Line it up with the center of the house/twist mechanism (2″ in)
- Fold the right end accordion panel in
- Apply glue to the top half of the rectangle beneath it (it should be split into a top and bottom half) and fold the accordion back down on top of it.
- Repeat on the opposite end, gluing only the bottom half of the rectangle.
- Fold card shut and burnish flat

7. Decorate the Front (and if you’re me, the back!)
I chose to:

- stamp and die cut flowers from the Altenew Lacy Scrolls stamp and die set

- Stamp and heat emboss corner embellishments in white (also from the Lacy Scrolls set)
- Stamp and heat emboss Congratulations diagonally in gold (stamp set unknown)

- Create a Cricut sentiment, cut out to be a unique shape
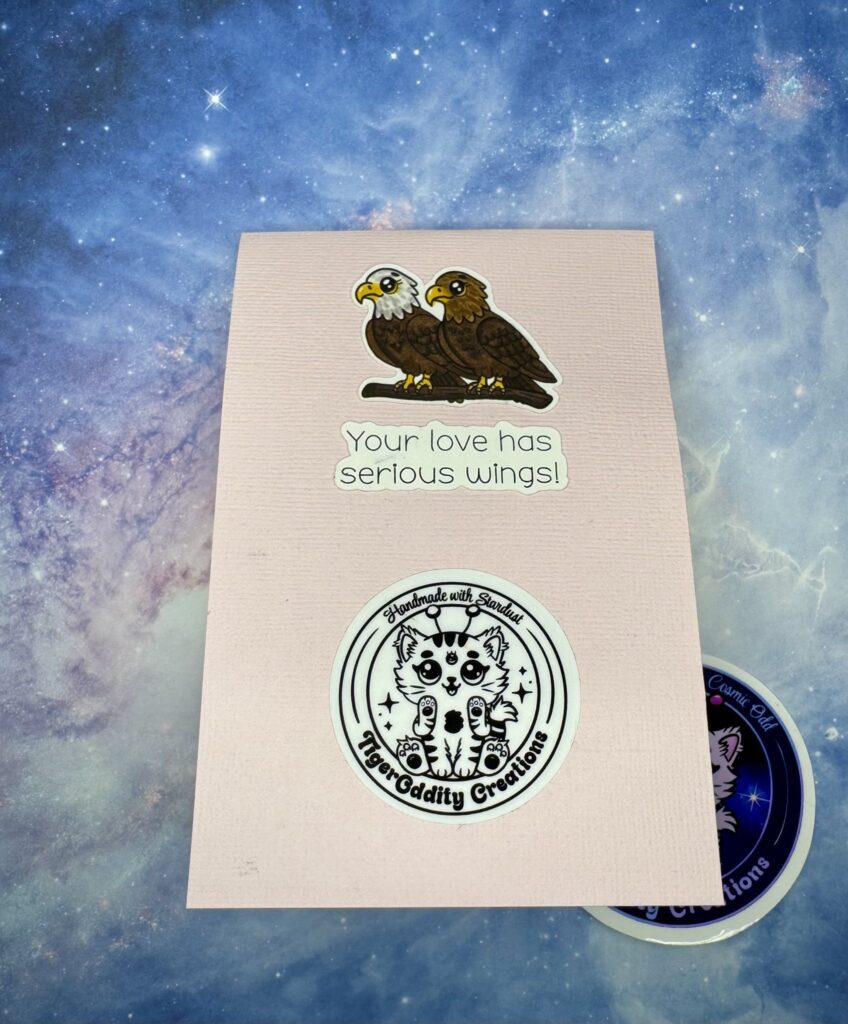
- Apply eagles stamp and sentiment to the back of the card (and logo sticker! I have a stamp, but the cardstock was textured so it didn’t work)
- Stamp Happy Anniversary (from Kindred Stamps Cursive Curses set) inside the card.
Here’s what the twist and pop card looks like in action!
Want to see the full card in action? Check out my TikTok or Instagram for the video version!
Musings from the Craft Table
As I was sketching and stamping, I kept thinking about what it means to share a life with someone for 40 years. Not just the “highlight reel” stuff, but the quiet, sticky, sometimes messy stuff that builds real connection.
I don’t take it lightly that people trust me to help them celebrate something so personal. That trust is what makes this creative work feel sacred sometimes. It’s one of the reasons I do what I do—because handmade art lets us pause, reflect, and say, “This mattered.”
Final Thoughts
This card wasn’t just a project—it was a little love letter to endurance, change, and the magic of choosing each other over and over again. Whether you’ve been with someone 40 years or 4 months, I think we can all agree: love deserves to be celebrated with something special. Thanks for stopping by!
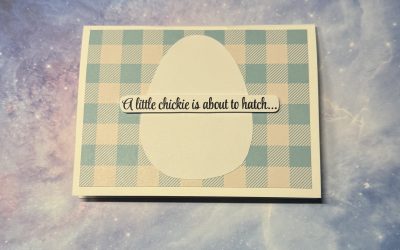
PS Don’t forget to check out my 7 day card challenge…the last one also features a digital stamp by yours truly.
If you want to snag any of my digital stamps for yourself, be sure to check out my Etsy!


0 Comments